BLOG


WordPress on Mac with MAMP

How to Set Up WordPress Locally On Your Mac Using MAMP

Host Your Own Private Web Development Server

Posted on April 14, 2025, by Peter Loomis


Introduction

Whether you're testing a theme, building a custom design, or learning WordPress from the ground up, working locally is one of the most efficient ways to prototype your ideas. Instead of uploading files or waiting on a hosting provider, a local setup gives you full control—fast, flexible, and offline.

In this post, I’ll walk you through how to install and run WordPress locally using MAMP, a free application that creates a local web server environment on your Mac. This is the same setup I’ve used for many years when prototyping new site work, experimenting with plugins and designing visuals before going live.


MAMP website screenshotDownload MAMP

1. Download and Install MAMP

Set Up Your Local Web Server

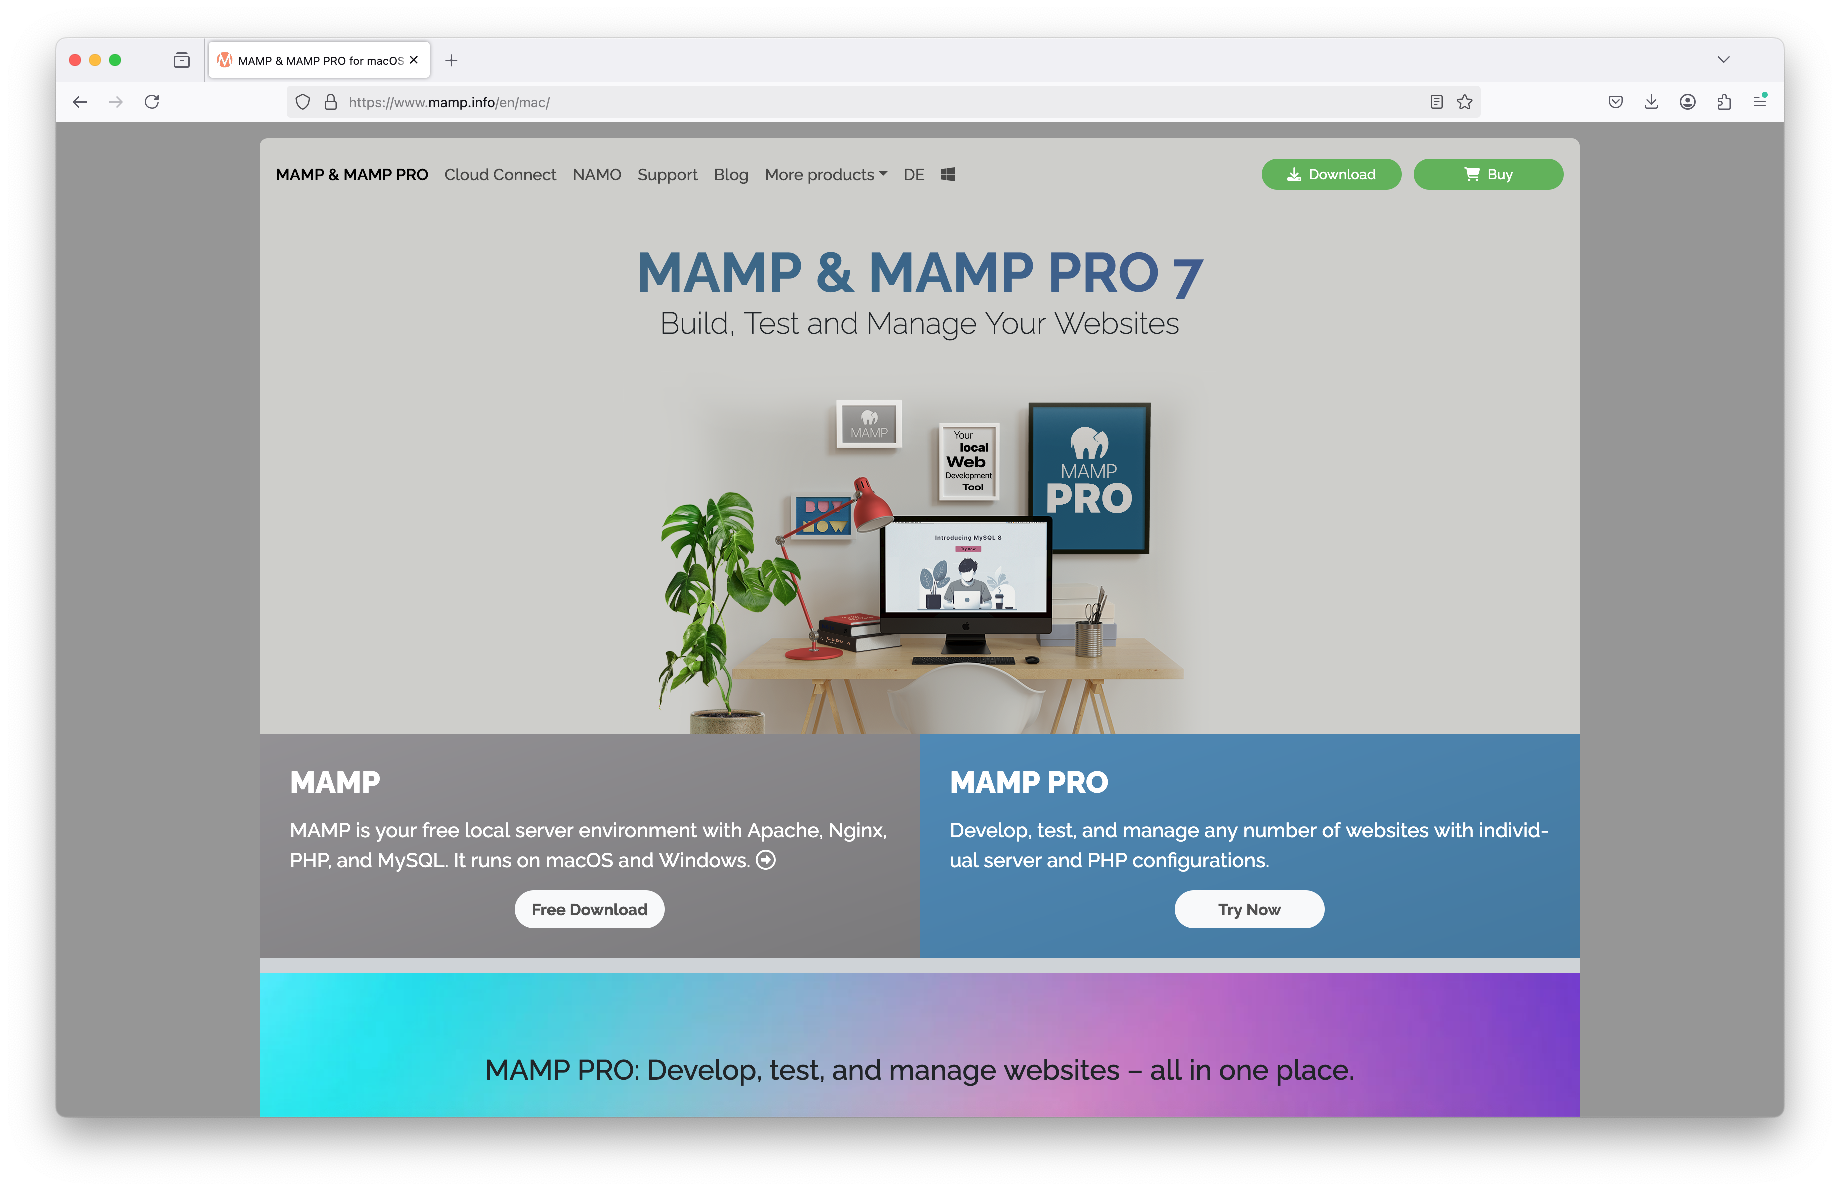
Before we can run WordPress offline, we need a local web environment. MAMP (short for Mac Apache MySQL PHP) is a free tool that simulates a live server on your Mac. It includes all the essentials—Apache, MySQL, and PHP—so you can run WordPress locally without messing with system files.

  • Go to mamp.info and download the free version of MAMP
  • Install it like any other Mac application (drag into Applications)
  • Skip MAMP PRO unless you need custom domains or port mapping

Once installed, open MAMP and click “Start Servers.” If everything is working, you’ll be directed to a local dashboard in your browser—this means your local server is ready to use.


Download MAMP

Screenshot of phpMyAdmin showing how to create a new database

2. Create a New Database in phpMyAdmin

Preparing WordPress to Run Locally

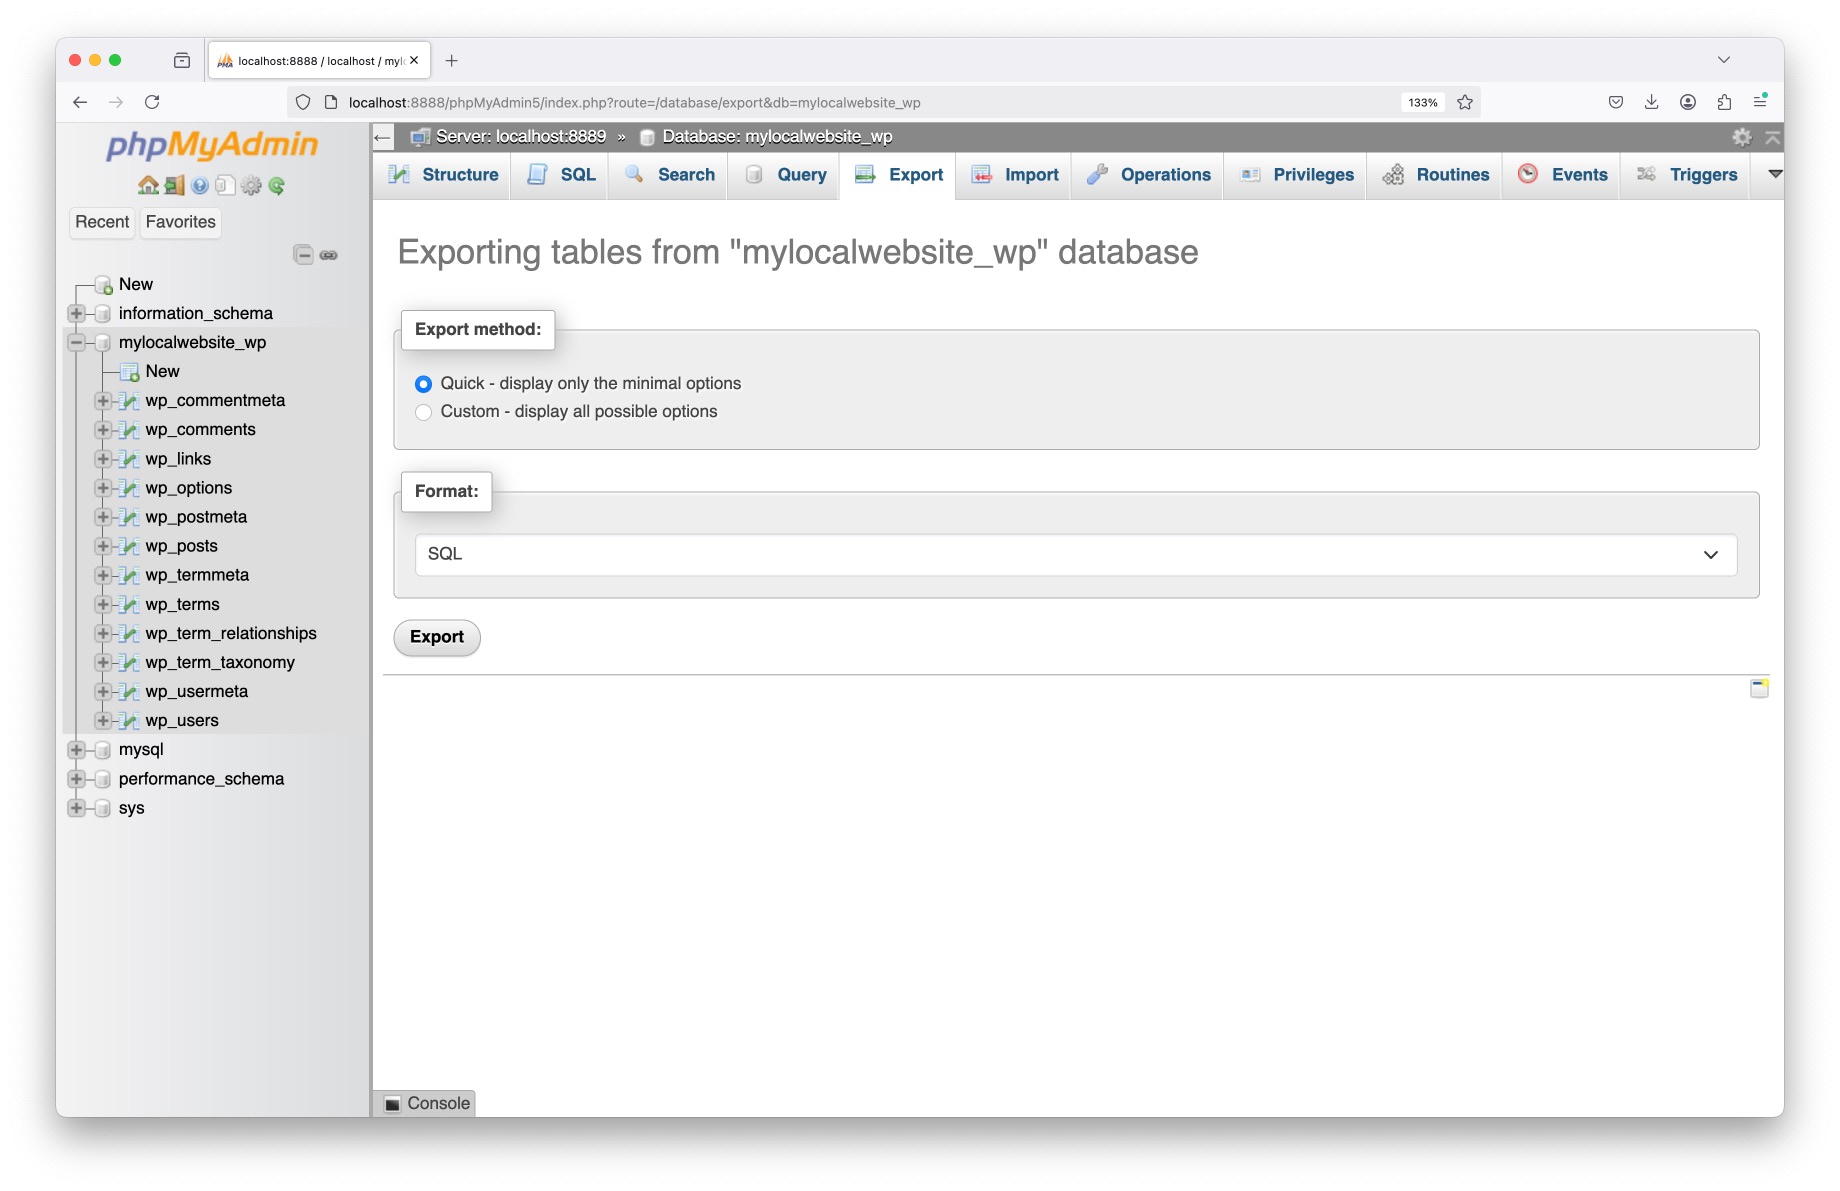
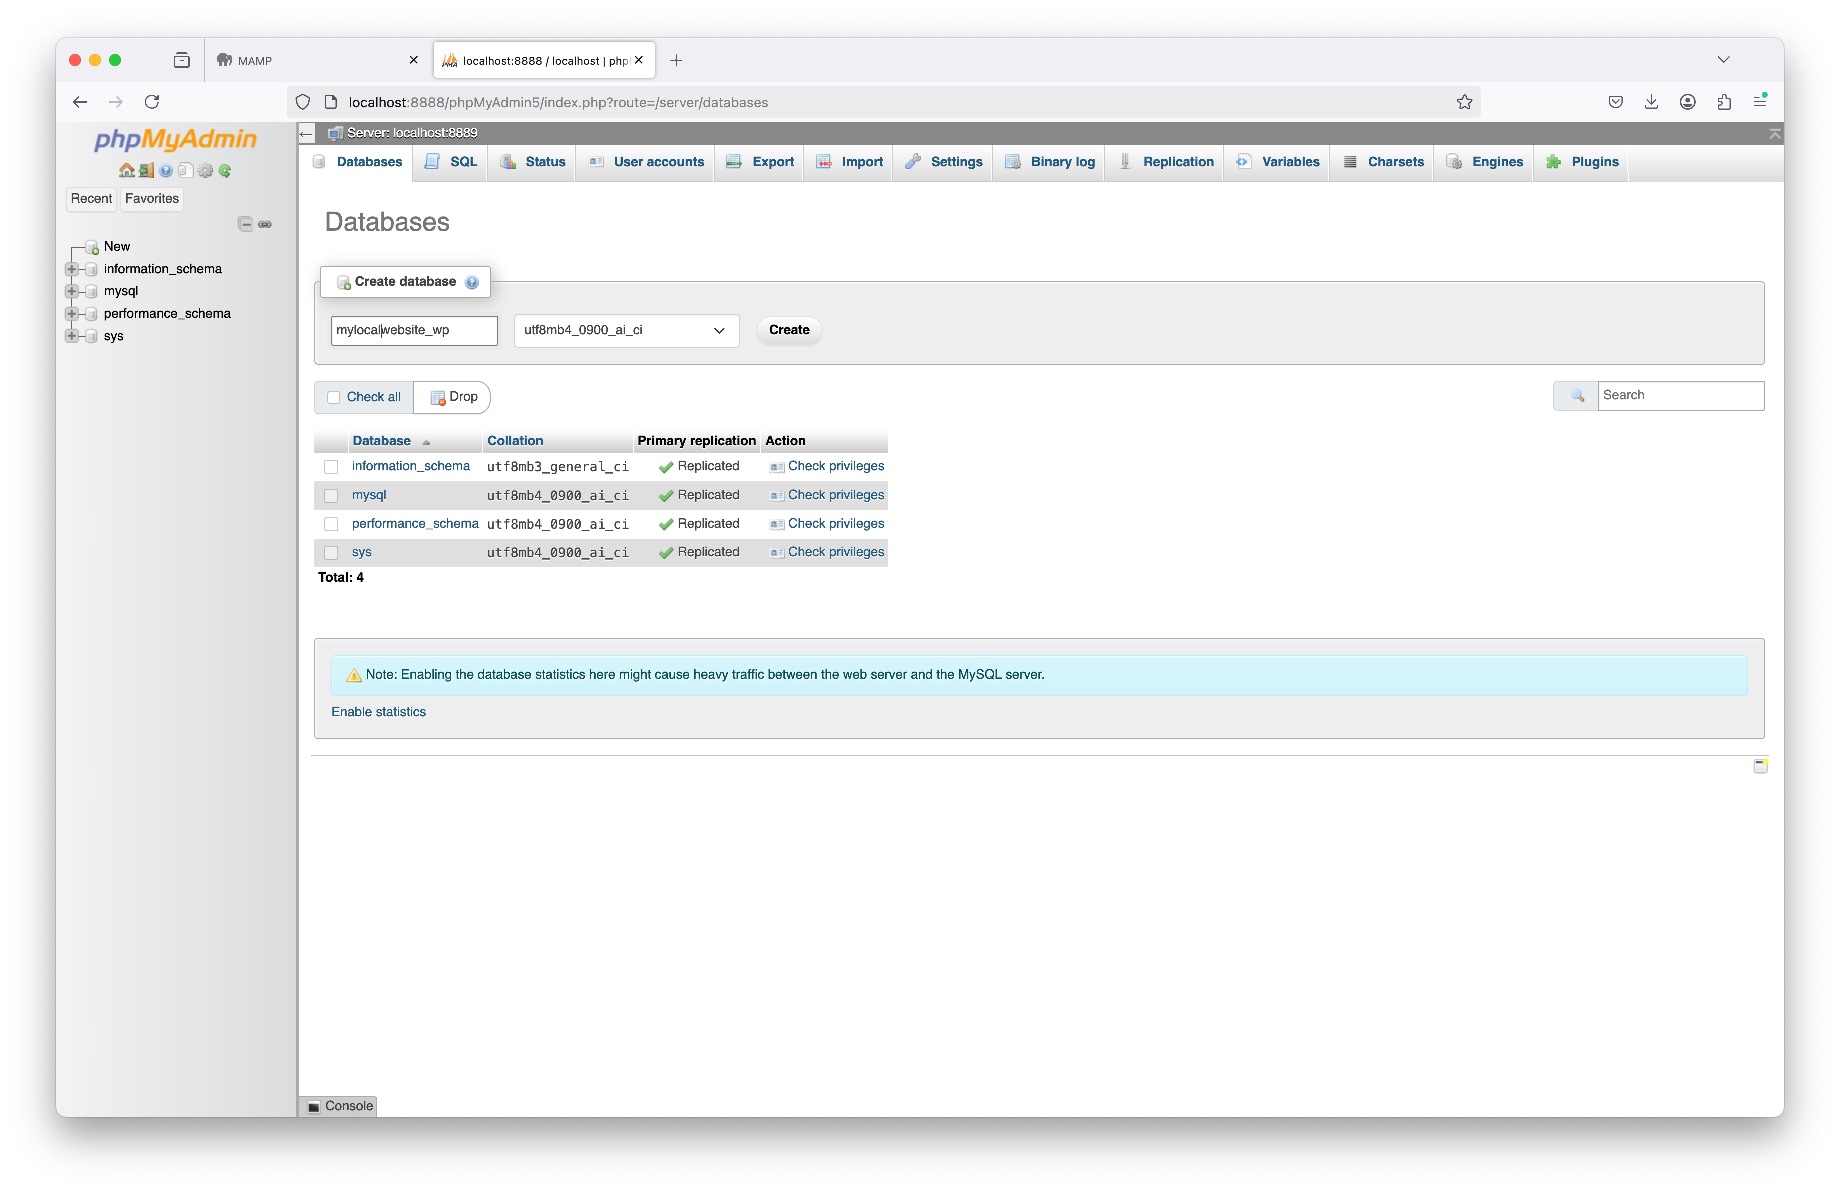
With your local server now running, it’s time to set up a database for your WordPress site. MAMP includes a tool called phpMyAdmin that makes it easy to create and manage MySQL databases through a browser interface.

  • Open MAMP and click “Start Servers” if they’re not already running
  • In the browser window that opens, click “Tools” > “phpMyAdmin”
  • Click the “Databases” tab and create a new database (e.g., mylocalwebsite_wp)

There’s no need to configure users or settings at this point. Just take note of the database name—you’ll connect to it in the next step. This database is where WordPress will store all your pages, posts, and settings.


Finder showing the default WordPress folder being moved into the MAMP htdocs directory on Mac

3. Download and Move WordPress to Your Local Server

Setting Up the Files for a Local Install

Now that your database is ready, it’s time to download WordPress and move it into your local server directory. This connects the code to the database you just created—completing the foundation of your local site.

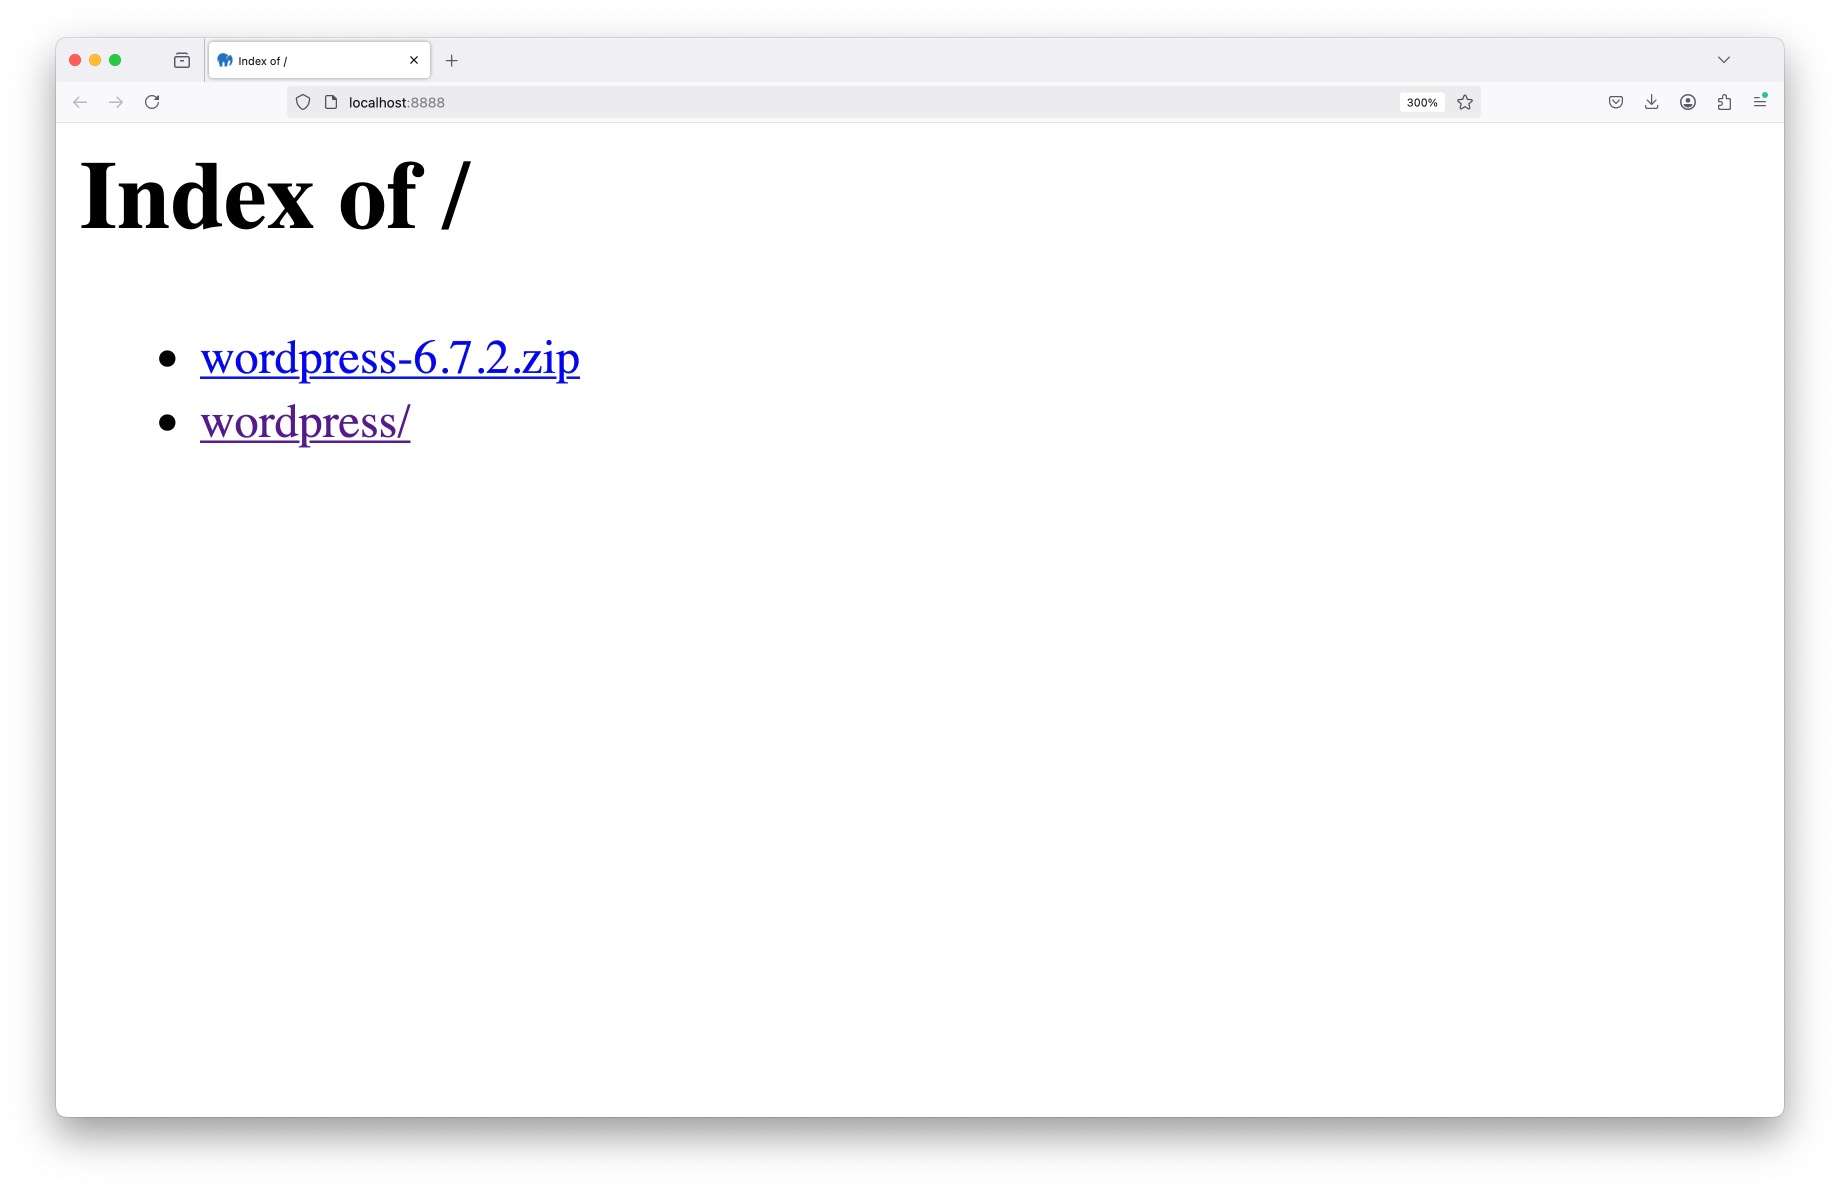
  • Go to wordpress.org/download and grab the latest version
  • Unzip the folder — it will be named wordpress by default
  • Move that folder into: /Applications/MAMP/htdocs/

Any folder you place in htdocs becomes accessible via your browser at http://localhost:8888/foldername. In this case, you’ll launch the WordPress installer at http://localhost:8888/wordpress.


WordPress installation screen showing database setup fields in the browser

4. Run the WordPress Installation

Connect to the Database and Set Up Your Site

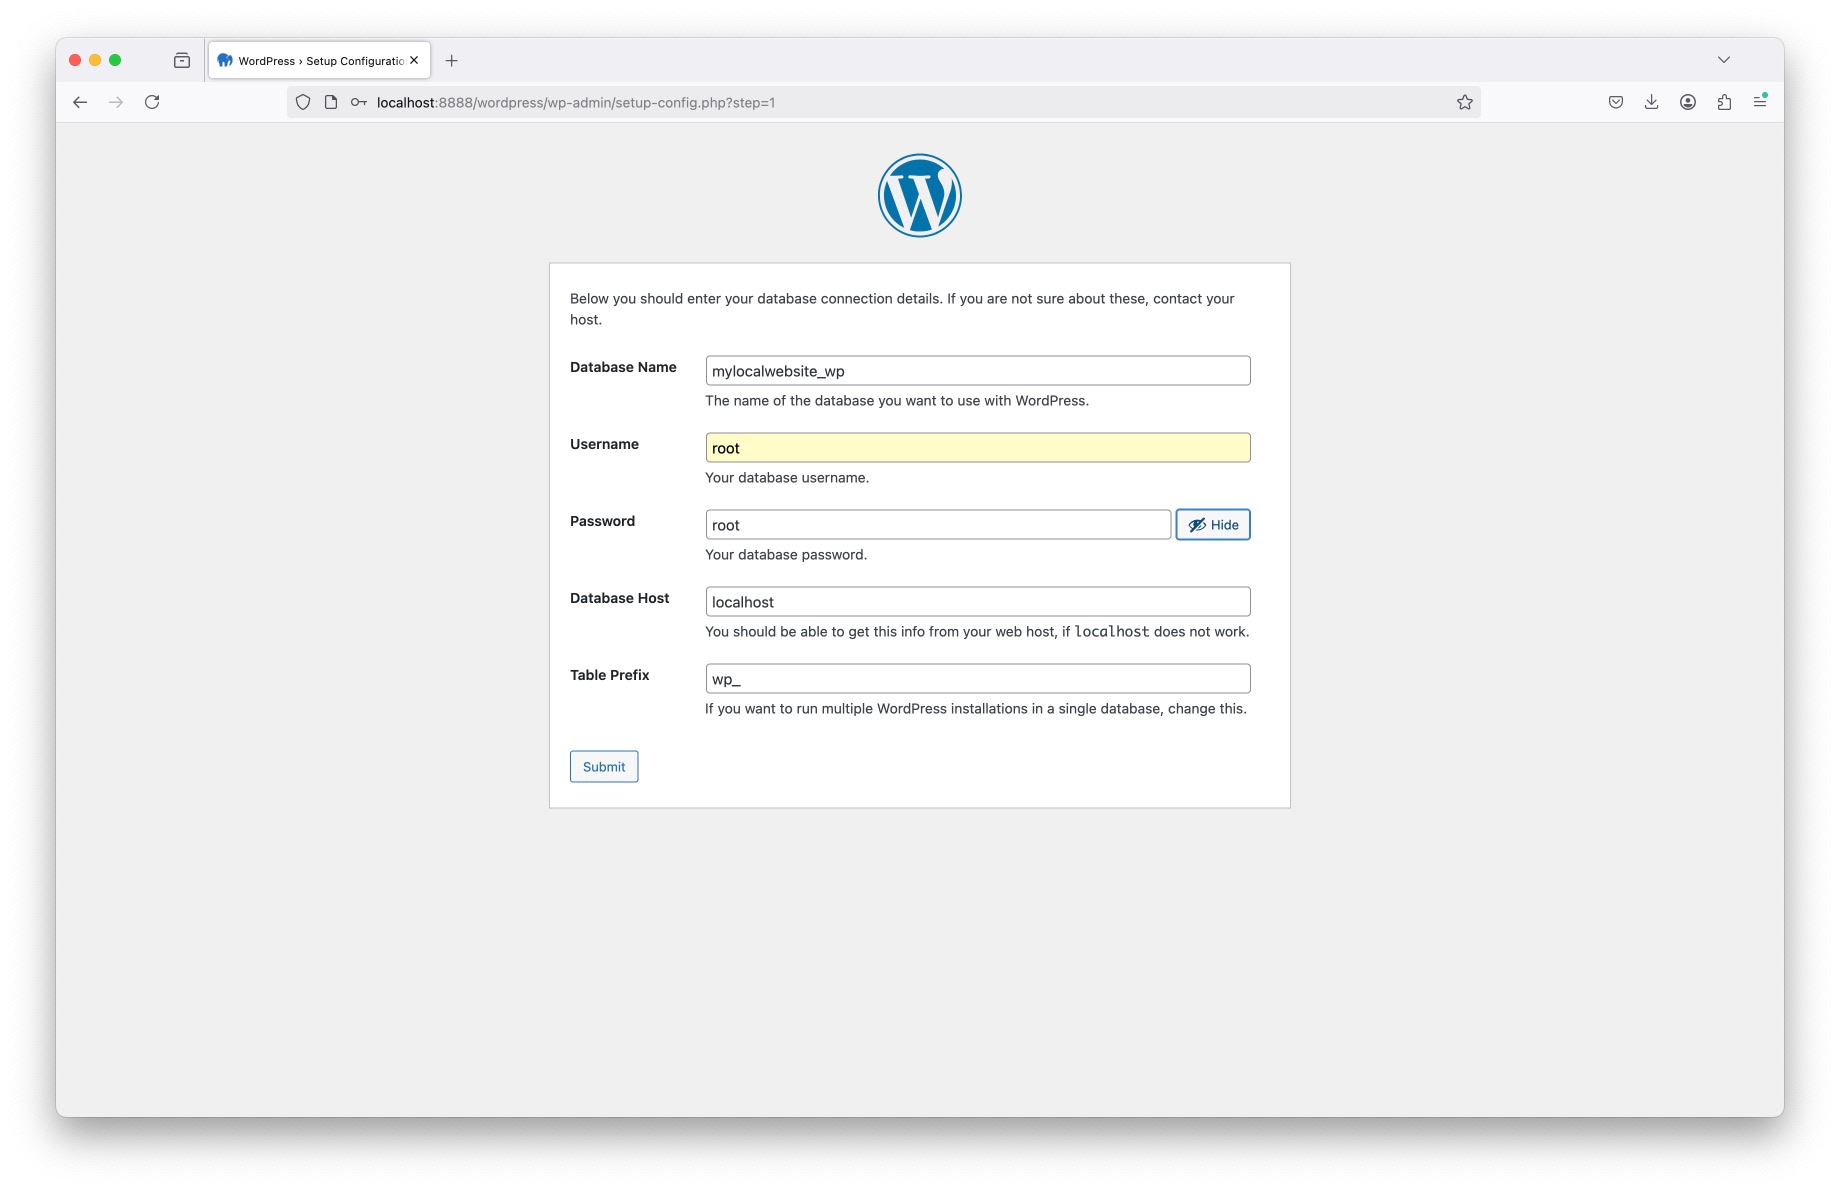
With your WordPress folder in place, it’s time to run the famous 5-minute install. Open your browser and visit http://localhost:8888/wordpress — this will launch the WordPress setup wizard, right from your local server.

  • Choose your language
  • Enter your database name (e.g., my_local_wp)
  • Username: root — Password: root
  • Leave database host as localhost

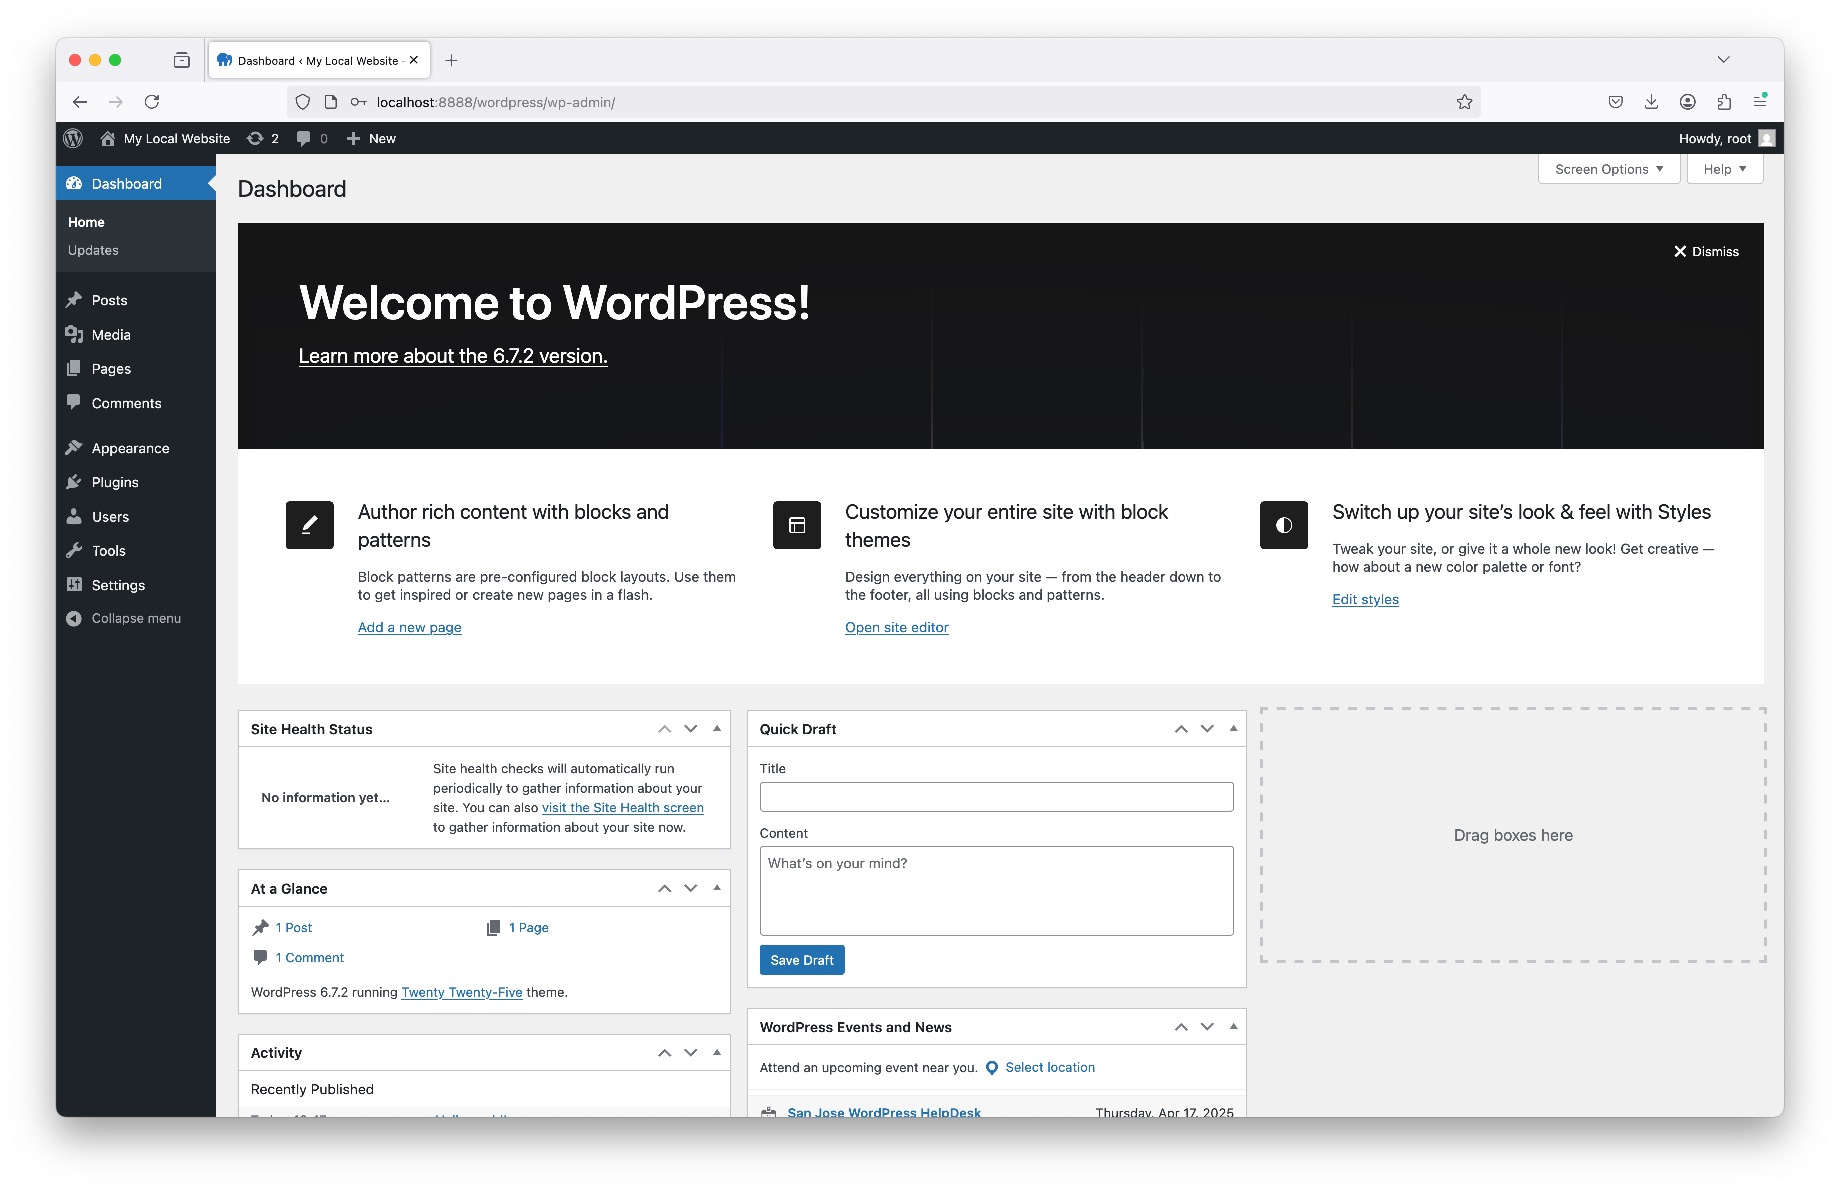
Click submit, and WordPress will do the rest—creating tables, generating your config file, and guiding you through creating an admin login. From there, you’ll land inside your new local WordPress dashboard, ready to build.

Set up WordPress locally on your Mac with MAMP and unlock a private, flexible workspace for design, testing, and development—no hosting or internet required.

  • Install WordPress offline & experiment freely
  • Work faster without upload delays or hosting hiccups
  • Design and test without risking a live site
  • Use real themes and plugins in a safe environment
  • Learn or prototype without needing a developer
  • Create multiple projects side-by-side in MAMP
  • Use phpMyAdmin to manage your databases
  • Build pages and layouts before launch
  • Practice migrations or staging workflows
  • Stay offline when traveling or working remotely
WordPress dashboard with active theme and plugin panel visible

5. Customize Your WordPress Site Locally

Build, Style, and Experiment Freely

Now that your local WordPress site is up and running, you’re ready to explore. This is where the creative work begins—install a theme, add plugins, or start designing pages without worrying about live traffic, hosting conflicts, or client visibility.

  • Explore themes and customize layouts visually
  • Install essential plugins for forms, SEO, and backups
  • Build pages and preview content instantly in your browser

The freedom of a local environment means you can break things, test features, and iterate fast. It’s ideal for trying new design ideas, testing plugin compatibility, or building out a complete site before going live. Everything you do here is private, flexible and fully reversible.


All In One WP Migration and Backup

6. Bonus Tips for Working Locally

Take Your Local WordPress Setup Even Further

Once you’ve mastered the basics, there’s plenty more you can do with a local WordPress environment. These small tweaks and add-ons can save you time, improve your workflow, and make your setup feel even more like a live site—without going online.

  • Install test content: Use the Theme Unit Test data to simulate a real blog or site
  • Try a custom local domain: Use MAMP PRO or edit your /etc/hosts file to access mysite.local instead of localhost
  • Export your work: Use tools like All-in-One WP Migration or Duplicator to move your local site to staging or live

Working locally gives you total control over your development space. As you become more confident, you can even simulate staging environments, test plugin conflicts, or build out full projects without needing a hosting account until launch day.


UpdraftPlus Backup & Migration Plugin

7. Keep Your Site Clean, Safe, and Backed Up

Smart Maintenance Practices for Local Projects

Even in a local environment, good habits pay off. Managing updates, testing backups, and organizing your plugins can save you headaches down the line—especially if you plan to migrate your site to staging or production later.

  • Test backups locally: Try plugins like UpdraftPlus or All-in-One WP Migration
  • Keep plugins up to date: Avoid version conflicts before going live
  • Minimize clutter: Remove unused themes, plugins, or demo content

Staying organized makes your local setup easier to manage and sets you up for a smooth transition when you're ready to launch or deploy to a real host.


UpdraftPlus Backup & Migration Plugin

8. Ready to Go Live?

Move from Local to Live with Confidence

Once your local site is polished and complete, it’s time to push it to a real host. Tools like Duplicator, WP Migrate Lite, or even manual database + FTP workflows can help you transfer your project cleanly and securely.

Migrating manually can be done, but it does involve a few steps. We export website files, our database and any content or imagery involved. Then we set up new database and user credentials along with uploading the site files to our new FTP server. Then we update our URLs with Better Search Replace. That's about it!

  • Export your database and files: Or use an all-in-one migration plugin
  • Update URLs and paths: Use Better Search Replace or WP-CLI tools (command line)
  • Test before going live: Use a staging environment or password-protect your live site

You’ve done the work locally. Now it’s time to share it with the world—confident that your design, functionality, and structure are rock solid.

“For every pixel-perfect moment, there's a web developer behind it.”

— Jigisha Dave

Conclusion

Setting up WordPress locally on your Mac using MAMP is one of the smartest moves you can make as a designer, developer, or digital creative. It gives you a safe, fast, and private space to build, test, and experiment without depending on a live server.

  • Work offline without hosting constraints
  • Build client sites in a risk-free environment
  • Test plugins, themes, and content layouts safely
  • Prep everything locally before going live

Once you’ve mastered this workflow, it’ll become your go-to method for prototyping new projects—and it will streamline how you build for clients or yourself.


Need help setting up your own local dev environment? Want to streamline your workflow or build out a professional site the right way? Reach out — I’d love to help you bring your vision to life.


Blog Index

Stay Connected

Follow us on Facebook, Instagram, LinkedIn, X and YouTube for more design content and inspiration! Sign up for our email mailing list and newsletter.


Ready to Elevate Your User Experience? Let's Collaborate!

We specialize in crafting cutting-edge UX/UI solutions that bring your digital products to life. Whether you're launching a new product, rebranding, or simply need a design refresh, we're here to help bring your vision to life. Send us a message today!


Contact Us